

The Free plan allows up to 3 products. Paid plans have no product limit.
Step 1: Open the product form
Go to Products Management and click Add New Products → Single Product.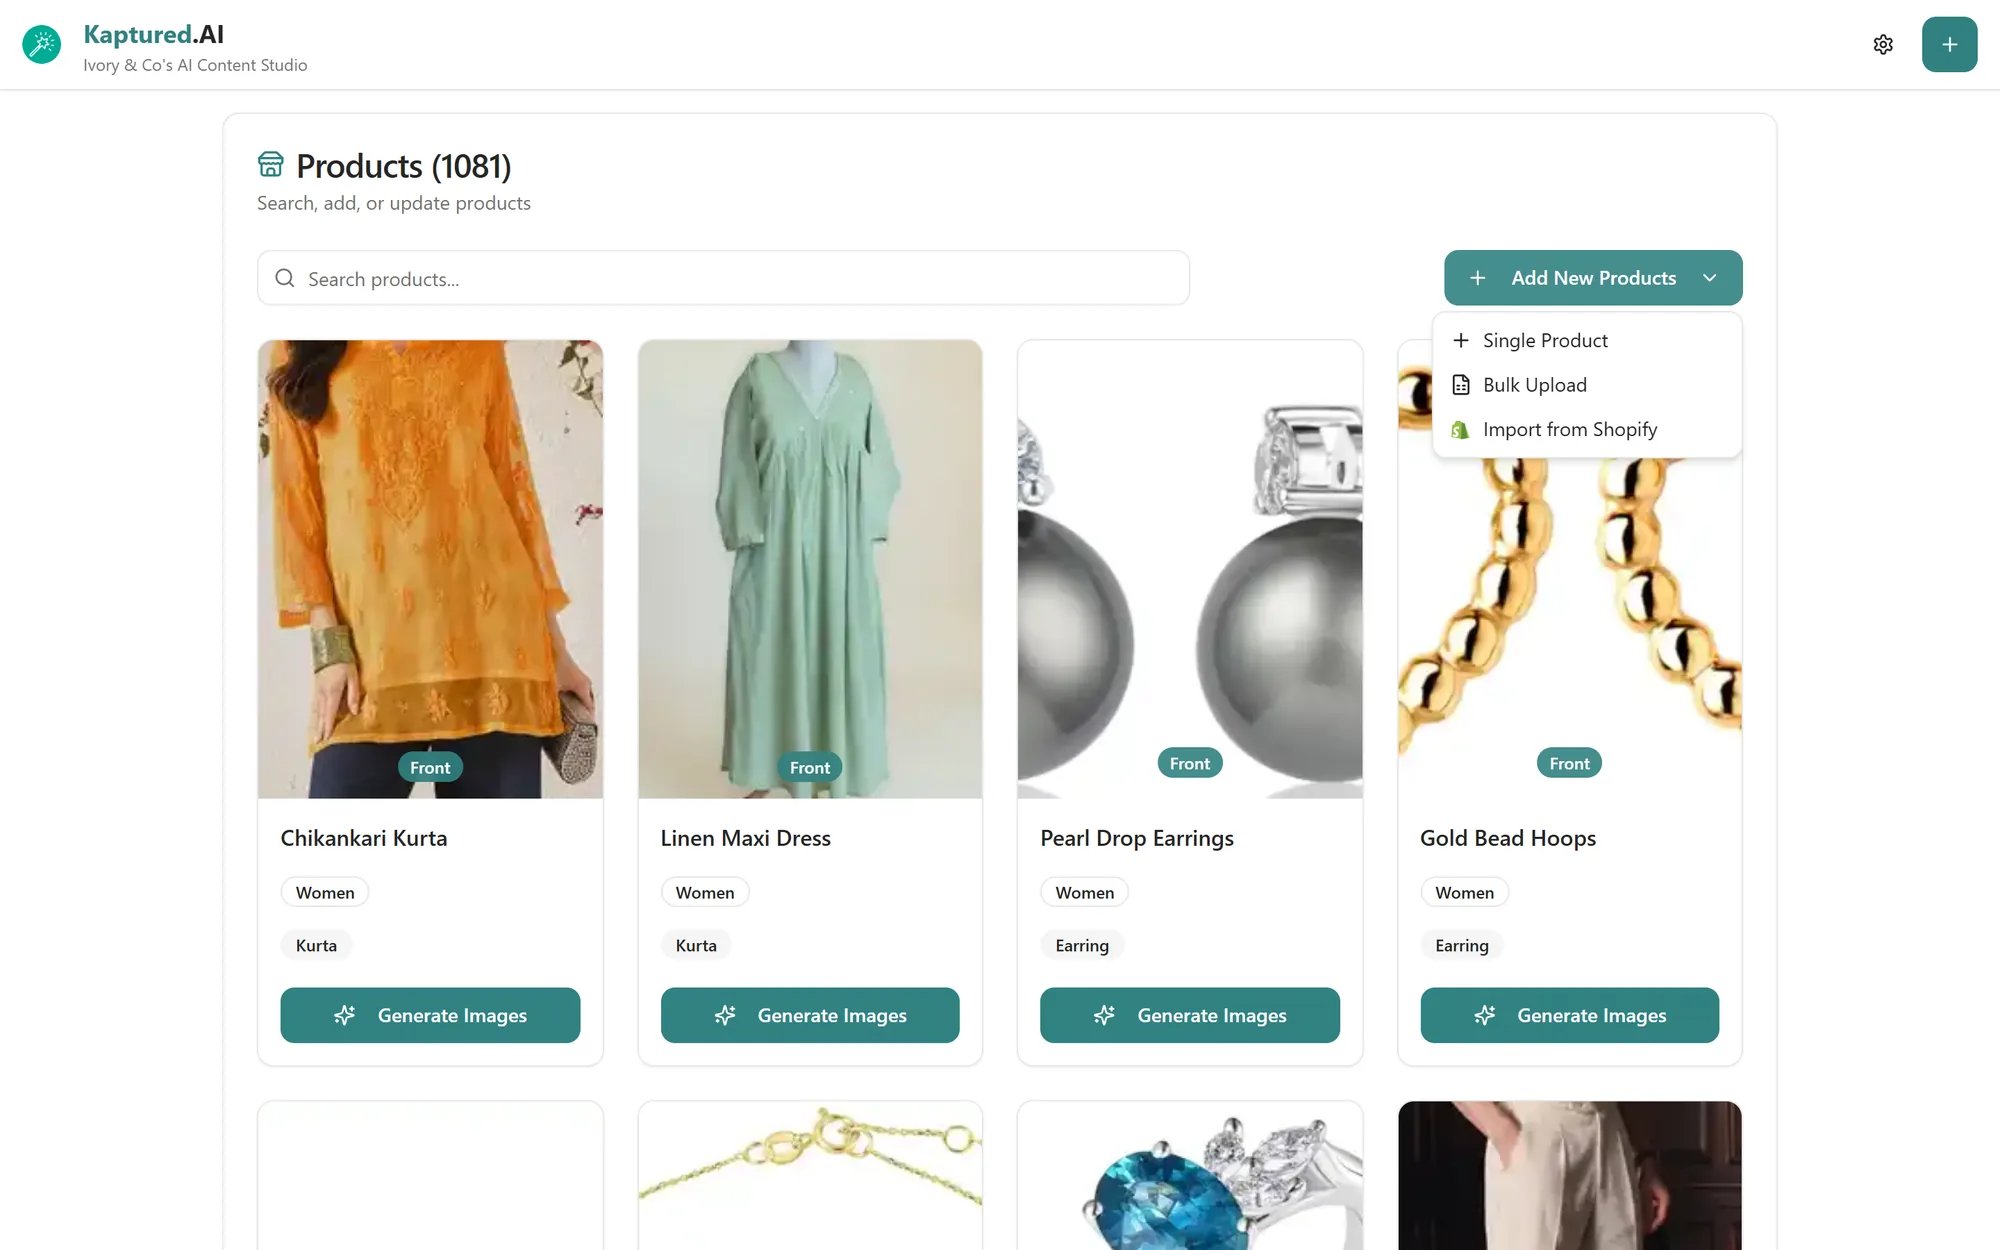
The Add New Products menu.
Step 2: Add photos
Under Product Images, click Add Images, drag photos onto the form, or paste them.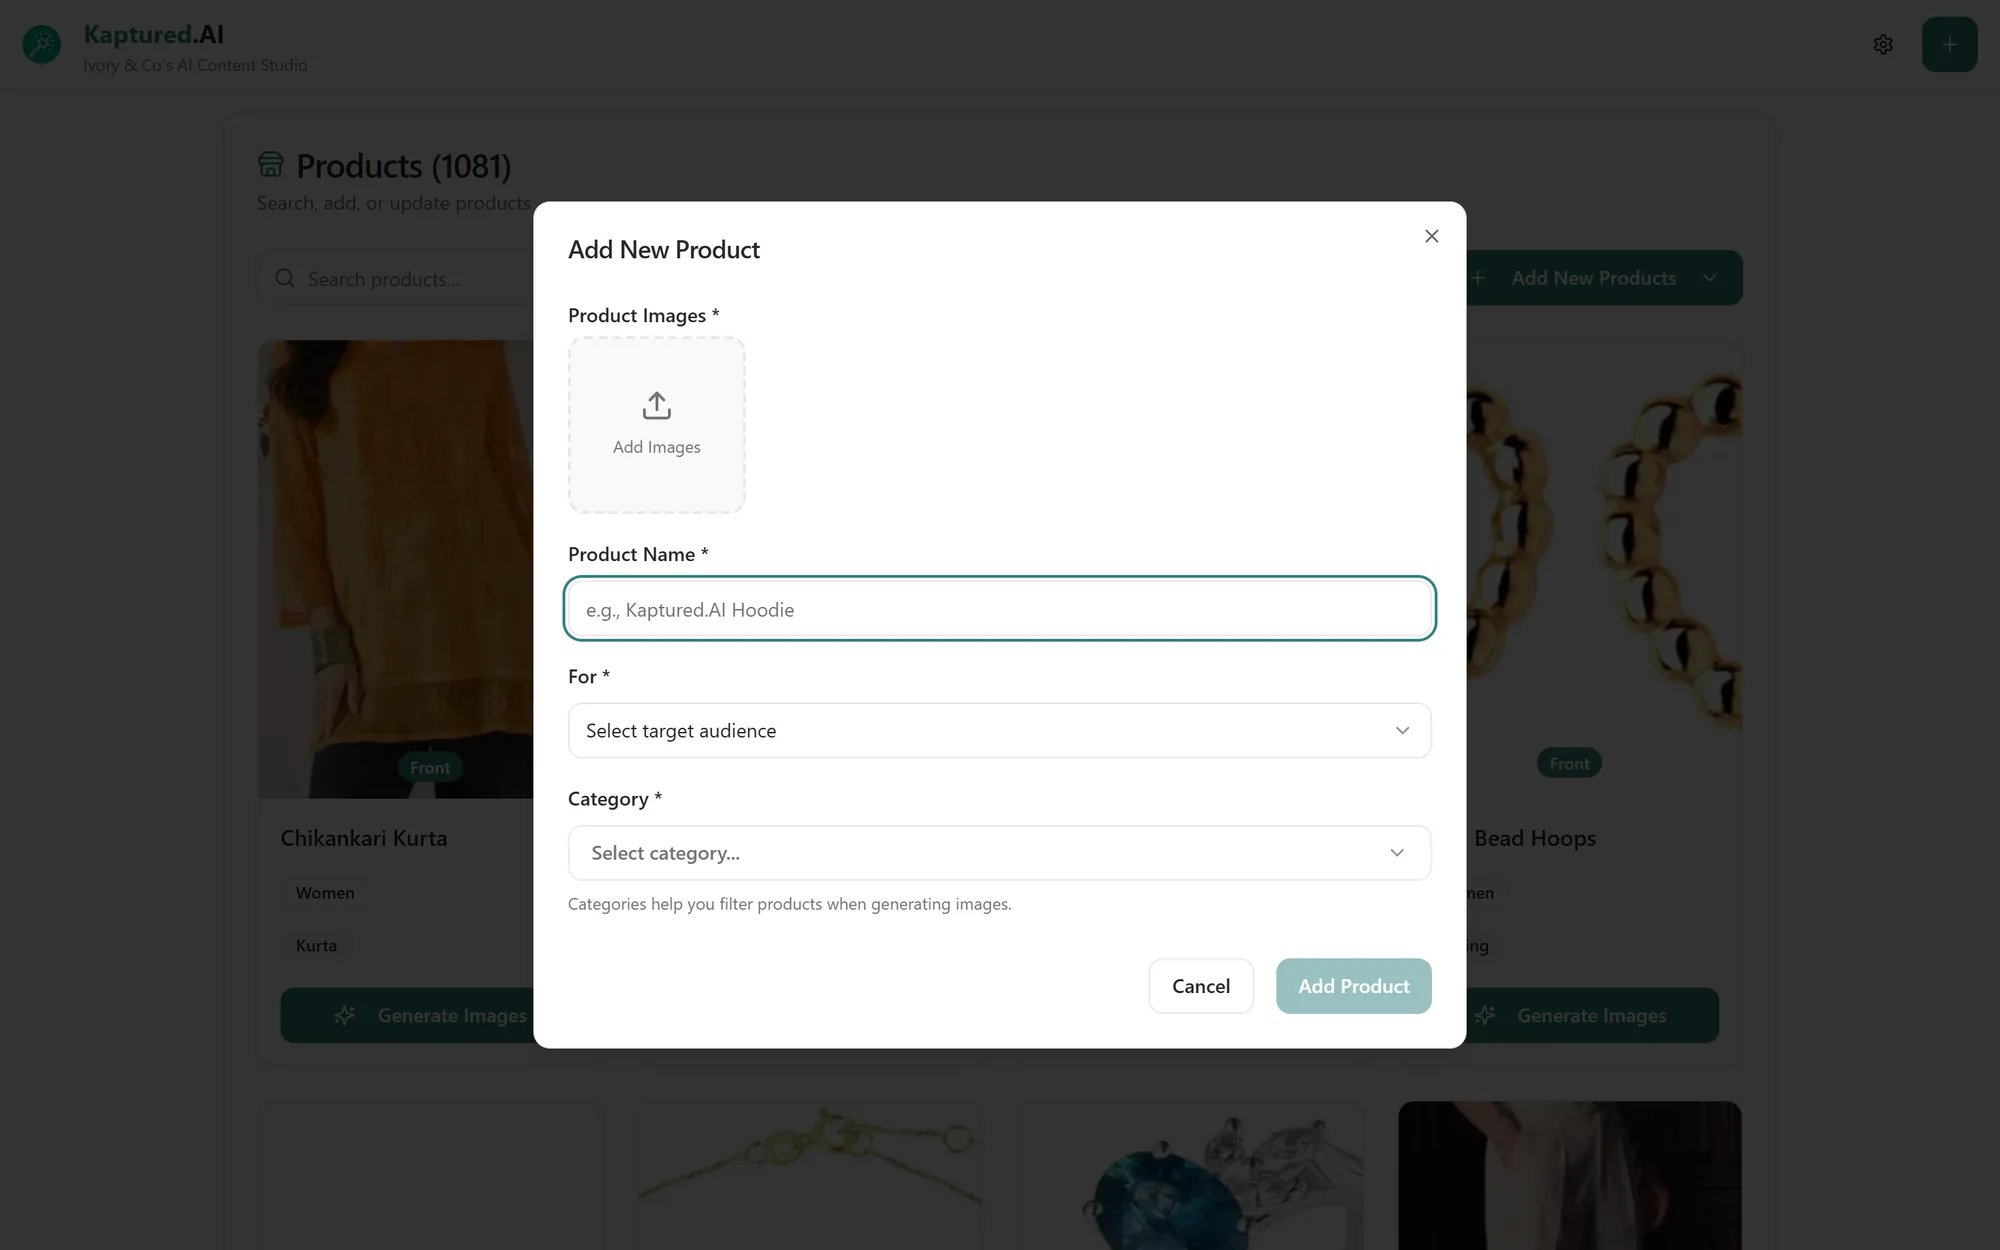
The Add New Product form.
- Up to 4 photos per product.
- JPEG, PNG, WebP, AVIF or HEIC (iPhone photos are converted automatically).
- Each photo must be under 15 MB after we optimize it.
- Adjust: Rotate -90°, Rotate 90°, Flip H, Flip V.
- Smart crop: finds the product and crops to it.
- Erase background: removes the background around the product.
- Add labels: add text labels to the photo.
Step 3: Set each photo’s view
Every photo needs a view so the AI knows what it is looking at:
Tip: Name your files with the view (for example
kurta-front.jpg, kurta-back.jpg) and the view is filled in for you.
At least one photo must be Front, Side or Back.
Jewelry: Set Size Reference
Jewelry shops have a Set Size Reference button. It places your piece on a 3D head so you can save a view that shows its real size. You need a Front photo first.Step 4: Fill in the details
Click Add Product. You see Product added successfully.
Step 5 (optional): Add extra details
Open the product again with Edit product to fill in Add extra details:- Description: up to 35 characters
- Price: in your shop’s currency
- Colors and Sizes: pick from the chips or add your own