

Bulk Upload is available on paid plans, in a desktop browser. It isn’t available on mobile.
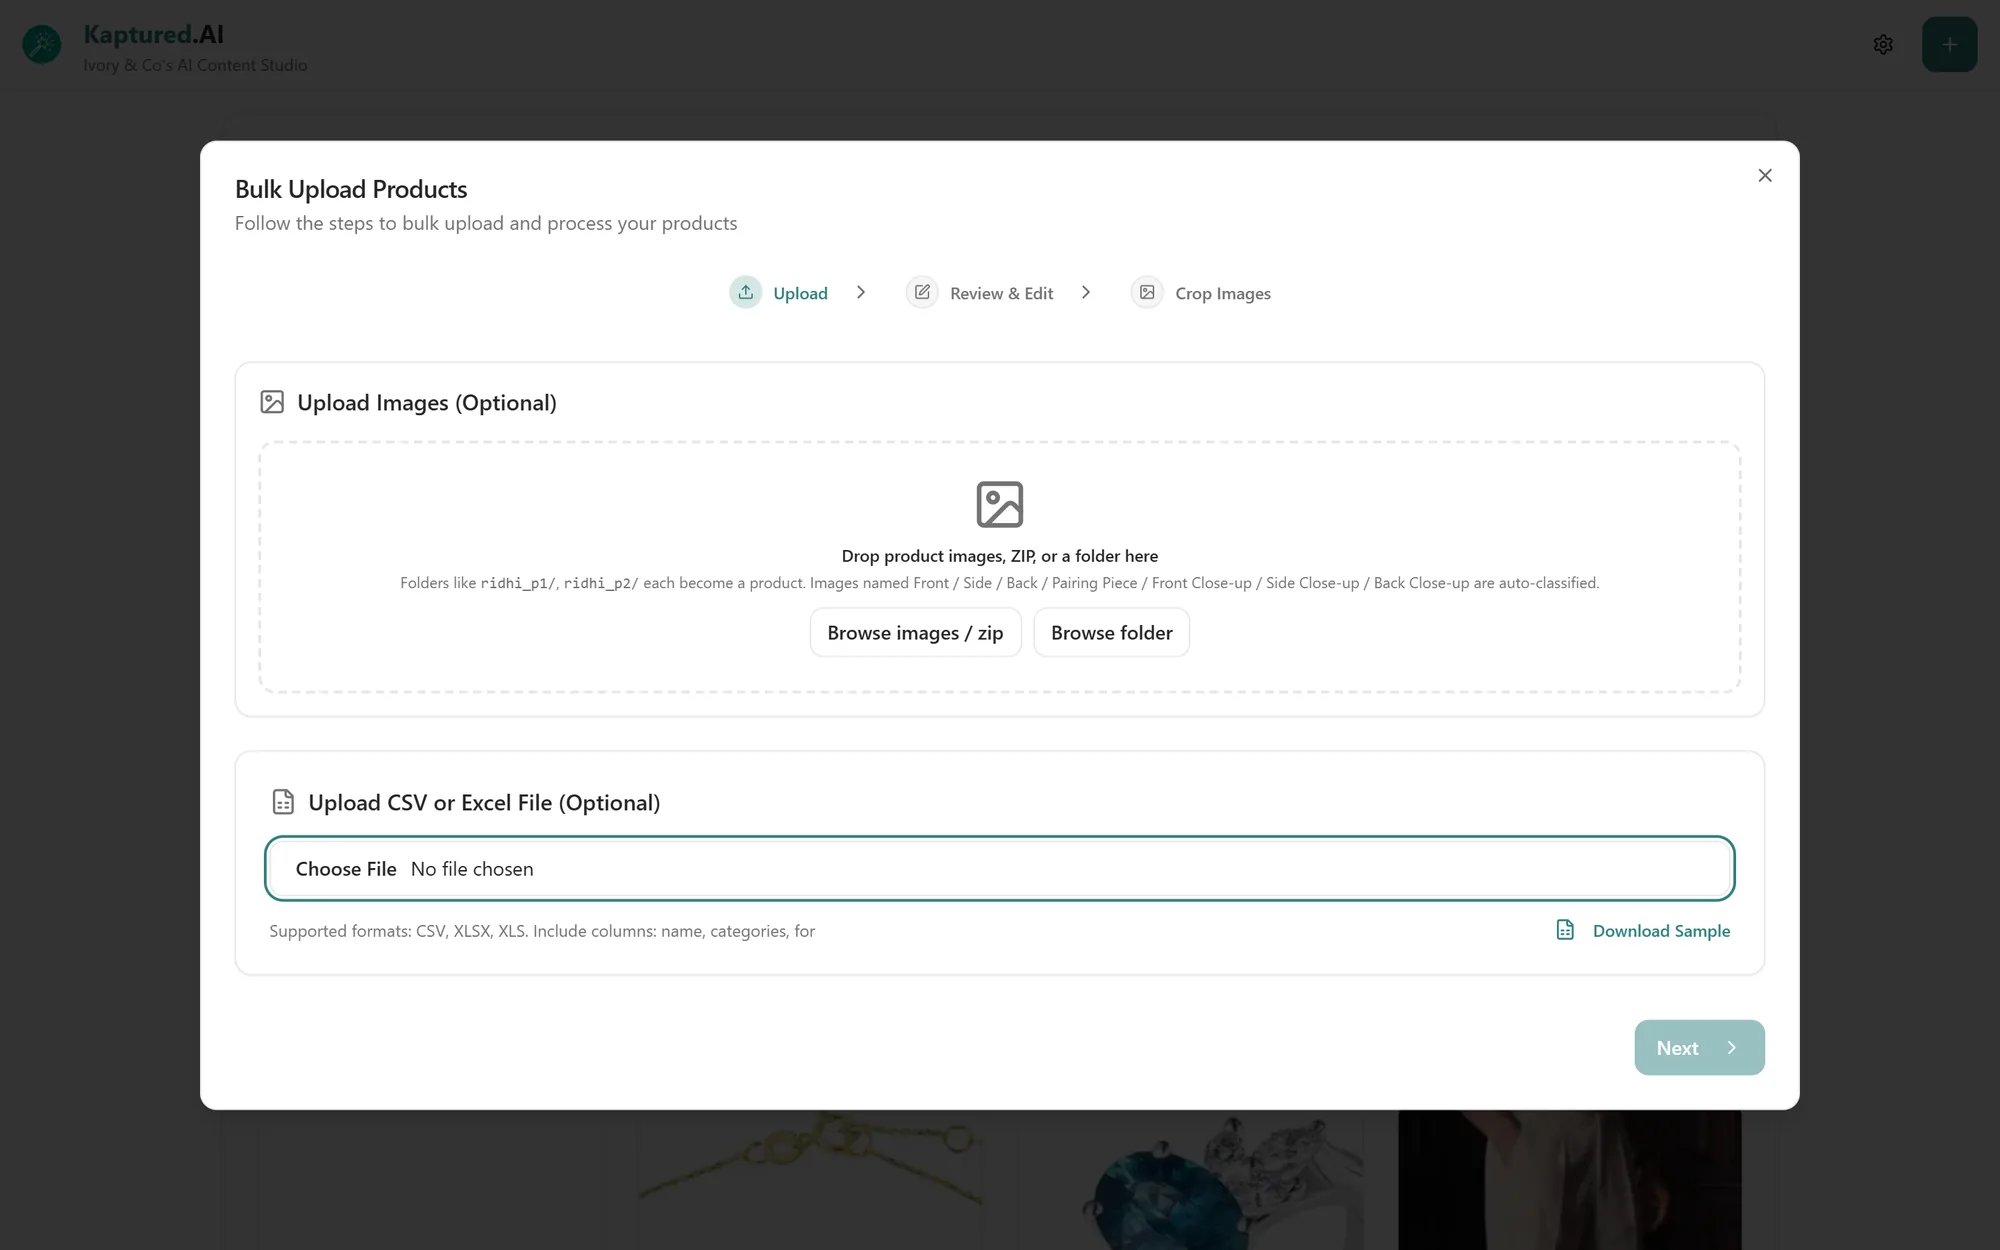
Step 1 of Bulk Upload: photos at the top, a CSV or Excel file below.
Step 1: Upload
You can use photos, a spreadsheet, or both. Each is optional.Photos: a folder or ZIP
Click Browse folder or Browse images / zip, or drop them onto the dialog. Put each product in its own folder. Every folder becomes one product:Details: a CSV or Excel file
Upload a.csv, .xlsx or .xls file with the columns name, categories and for. Click Download Sample for a ready-made template.
Step 2: Review & Edit
Check each product and fill in anything missing: Name (up to 25 characters), For, Category, Stone Type for jewelry, and Images (up to 4). Use Remove Product to drop one.Step 3: Crop Images
Click Start Image Cropping and crop each photo, the same way as for a single product. Use Skip all remaining to accept the rest as they are. Then click Start AI Processing. Progress shows as Completed: x / y. When it’s done, each product opens in the product form one by one so you can check it before it’s saved. Click Add Product to save it, or Skip to leave it out. You see All bulk upload products have been added! at the end.Troubleshooting
-
“Please upload a CSV or Excel file”
✅ Solution: Save your sheet as
.csv,.xlsxor.xls. - “No data found in file” or “Failed to parse file” ✅ Solution: Start from Download Sample, keep the header row, and paste your products under it.
- Photos ended up in the wrong product. ✅ Solution: Make sure each product’s photos are in their own folder. Loose photos in one folder are treated as one product.
- Some photos were skipped. Only 4 photos per product are used. ✅ Solution: Keep the 4 best views in each folder.